Custom boot animations on android devices
2011-06-08 04:06 by Ian
Newer android platforms support animated boot screens. In the process of tearing the platform apart, I figured I’d replace the stock animation on my Xoom.
In order to pull this off, you will need:
- Gimp
- Image-magick (not a typo)
- An android phone that can do animated boot screens
- The android SDK
- An animated image you like, or the talent to create one.
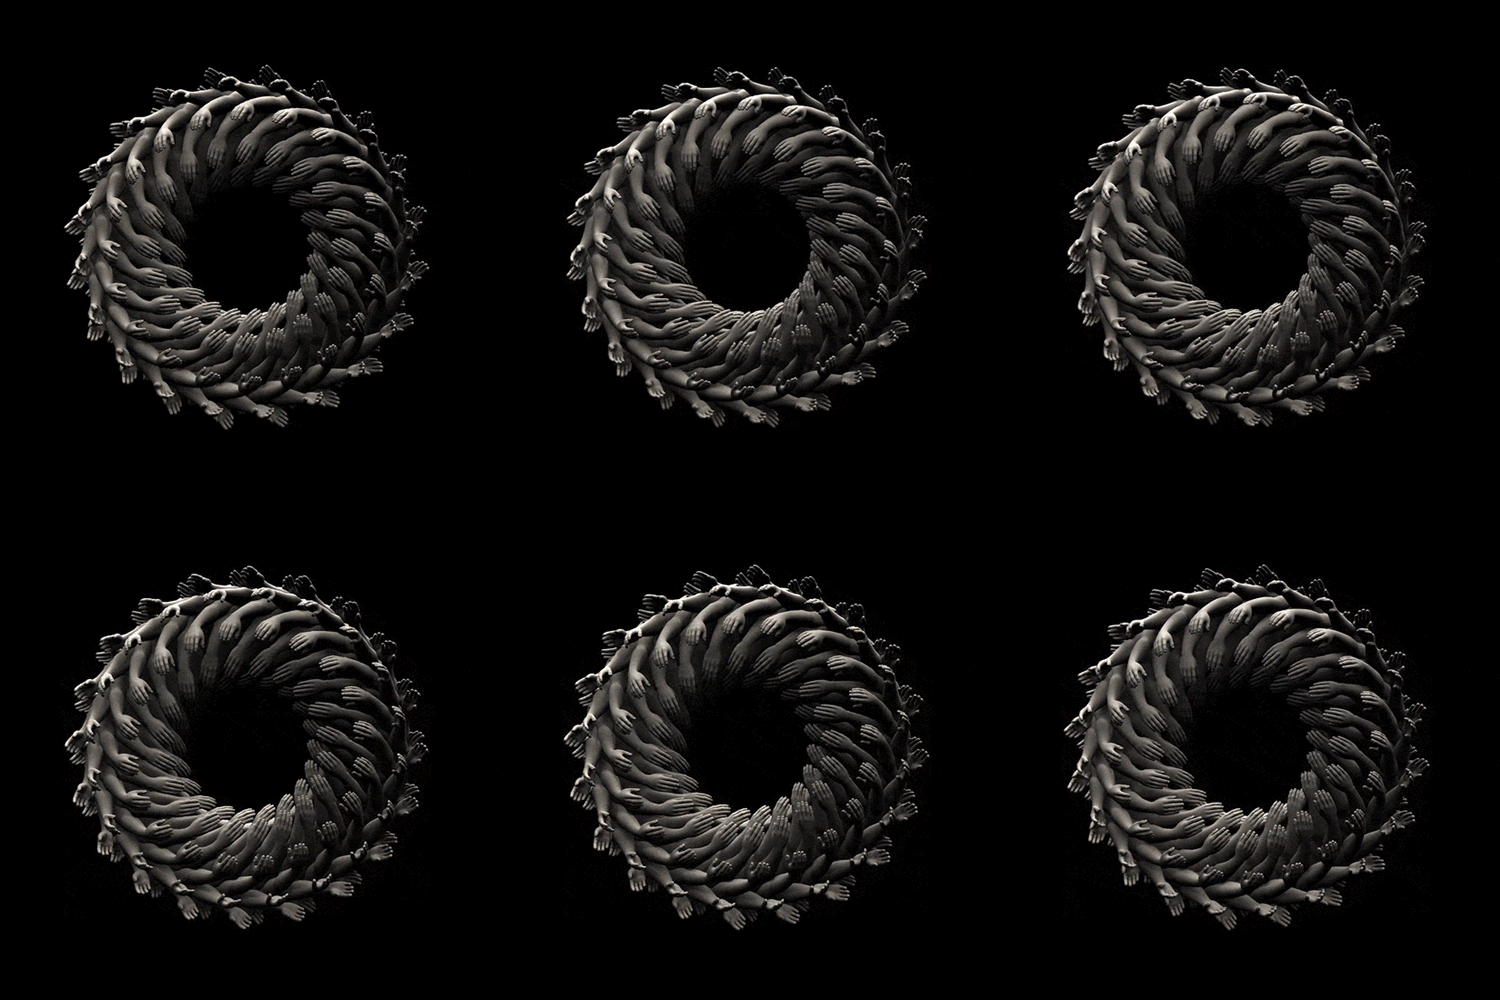
Sadly, I don’t know enough to create images this awesome, so I will use an animated GIF I found on the internet. If you have the ability to make animated images, you can use this guide as a template for getting your work into your phone.
I liked this image. I wish I knew who created it, so I could give them proper attribution, but sadly, I do not. If you happen to know, please leave the information in the comment section.

Step 1: Collect information about your device
As far as I can tell, images that are smaller than the resolution of the device they are being used on will be centered and not re-sized. Maybe there is a reason to make the animation this way, but I don’t see it. Just know that you do not need to use the whole screen. My target device has a resolution of 1280×800.
Step 2: Choose/Create an image and import it into gimp
When you feed gimp an animated GIF, it will split the image into frames. The boot animation is stored as successive PNG files, so if the frames of your animation are only the pixels that differ, you will need to do some work to copy the background frame across all the frames. Also, you may want to scale the image at this point.
Here is my XCF file, as a visual aide.
Step 3: Export the frames as PNG files
Save each individual frame as a compressed PNG file with the file name equal to the frame number. It does not matter if there are gaps in the frame count, but the frames will play in the order that they sort. So you should zero-pad the file names.
Step 4: Create a text file describing the animation
There needs to be a text file to instruct android how to render the animation. It must be called desc.txt. You can make multi-part animations with adjustable loop counts. Your desc.txt should not contain the inline commentary. It will break the animation and is only given for clarity’s sake.
In the image described above, there are two animations. The first animation repeats once and is stored in the directory part0. The second animation repeats forever and is stored in the part1 directory.
Step 5: ZIP the animation
It is important that the ZIP file be uncompressed. If this is not the case, the animation won’t work. I placed all my frames into a directory named “part0” and zipped it, and my desc.txt file with this command:
When you are finished, you should have a ZIP file that looks very similar to mine.
Step 6: Upload to device
For this to work, you need to have your device setup to allow adb connections. If you need the help, a detailed guide for making this happen can be found at this post.
Then, on the PC, you should be able to…
If you did everything correctly, you should see your boot animation on next reboot.
Previous: Car PC: Linux distibution and customizations
Next: ADB, Fastboot and USB permissions