Metalcraft (PC Case)
2011-03-05 07:55 by Ian
For the past eight years, I’ve been limping along on my 2Gz P4a. I finally built myself a new PC, and quickly found that as the hardware has become better, the cases have gone one of two ways: Either cheap 1/16” steel rattletraps that cost $40, or Xbox hueg l33t towers full of lights and windows.
No thank you. I’ll roll my own.
I want the construction to be entirely aluminum, with the exterior being 0.25” plate with no plastic or paper-thin steel.
It’s going to wind up being about double the volume of my old Shuttle XPC, but the Shuttle had a custom motherboard form factor specifically to achieve its small size. Since I want to use a microATX form factor, I had to make a size concession.
I did a quick sketch in OpenOffice draw…
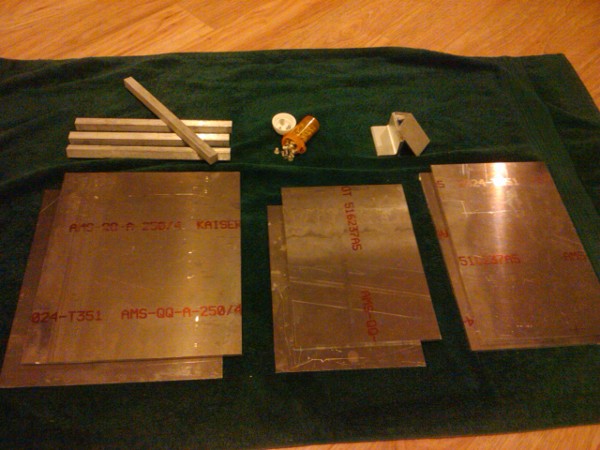
...and then went to the scrap yard to buy raw materials. Here are the parts after a night of measuring and cutting. There are 3 pairs of plates, four ribs, two brackets to mount the case to my desk and a pill bottle full of screws.
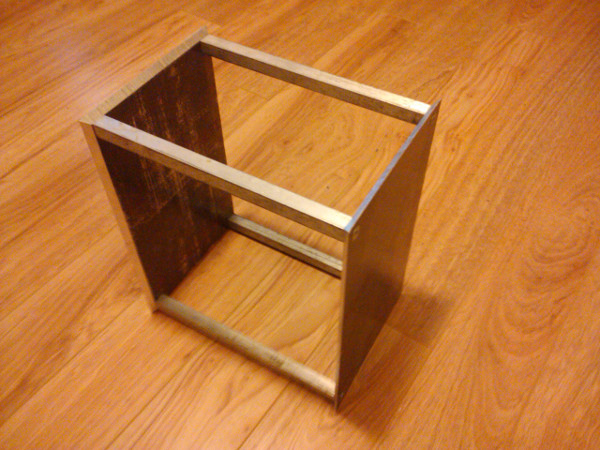
Then, I mitered the edges of the plates and drilled them. After drilling and tapping threads in the ribs, I was able to assemble the frame:
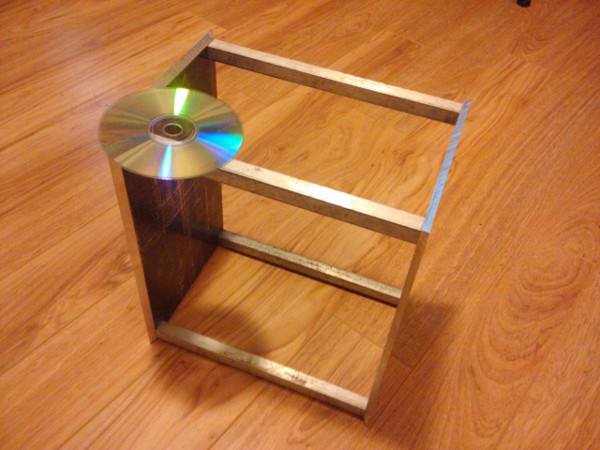
Here is another picture with a CD for scale:
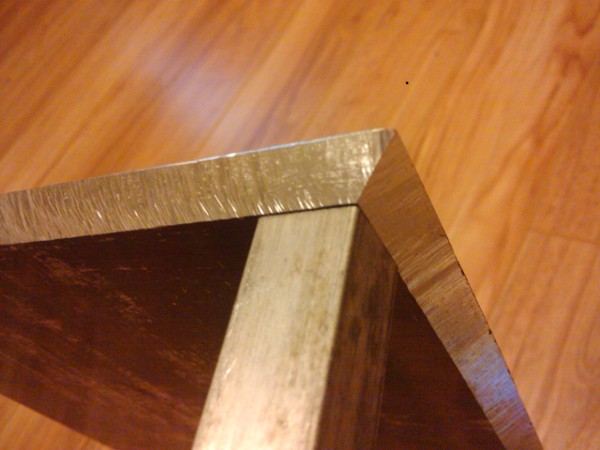
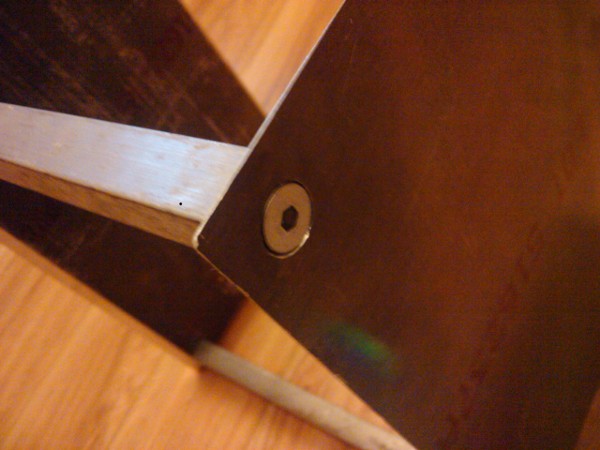
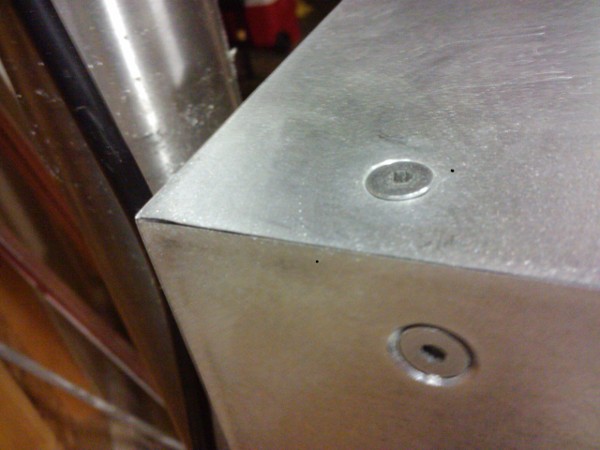
A closeup of the edge and rib-joint to the plate:
Here is the same joint as viewed from the front. You can see that I countersunk the screws:
At this point, the frame will hold my weight. Each of those eight bolts is threaded about an inch into the aluminum ribbing.
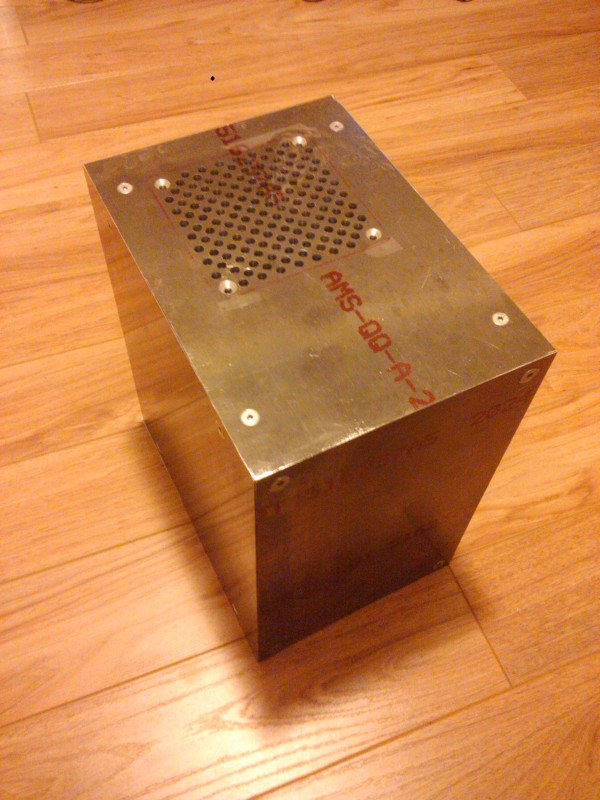
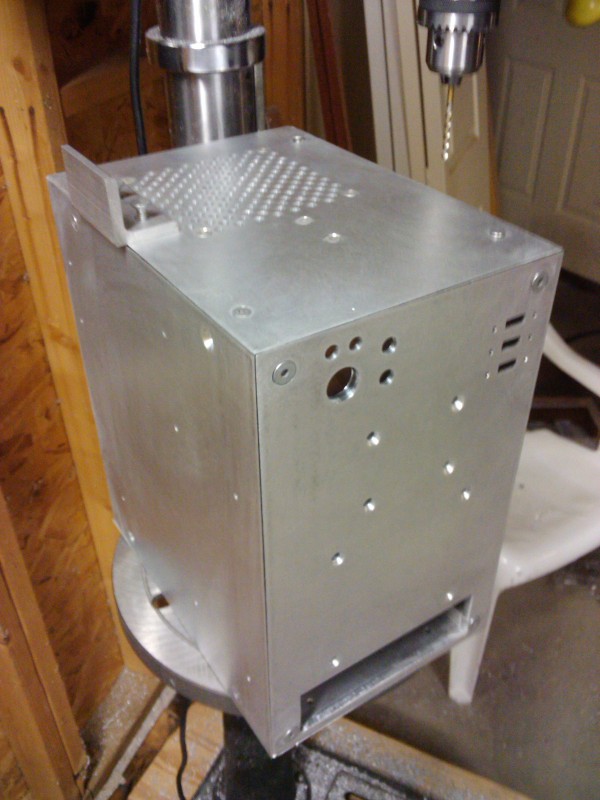
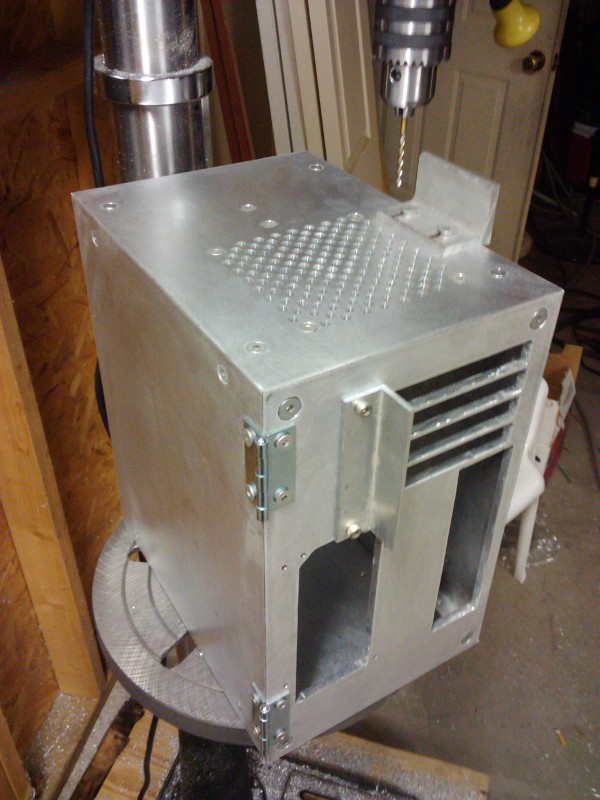
After I drilled and tapped the remaining mounting holes in the ribs, I was able to bolt the rest of the box together. You can also see where I drilled the pattern and mounting holes for the 120mm fan in the top of the case.
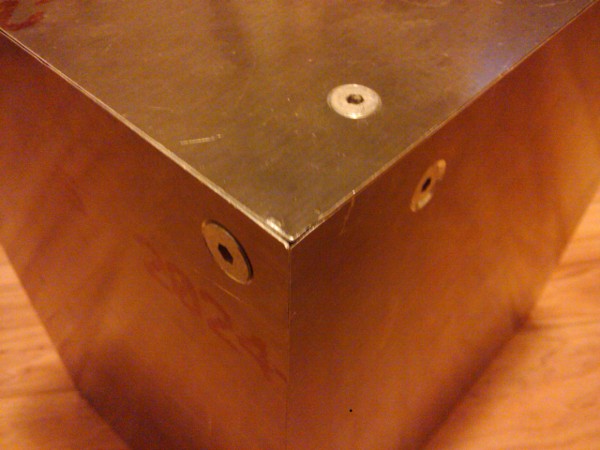
Here is a closeup of the joints at one of the corners:
Now that the basic shape is done, it’s time to start mounting parts for the PC into it. The first target was the optical drive. It will sit atop the bottom plate. In this picture, you can see the bottom two ribs and the bottom plate with the drive securely mounted to it…

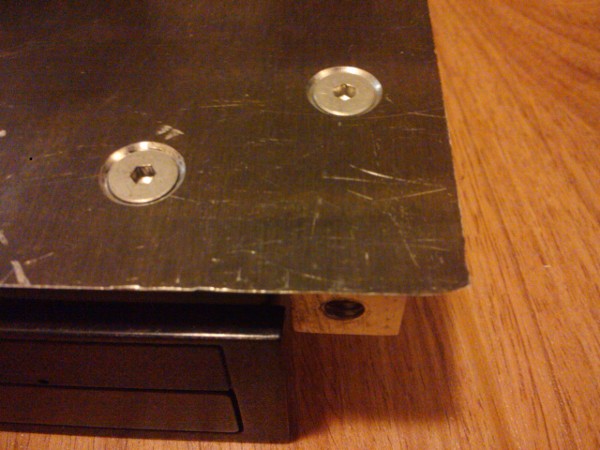
This is one of the bottom corners. You can see the countersunk bolts. The one on the right holds the plate to the rib, and the one on the left holds the drive-retaining plate to the bottom plate.
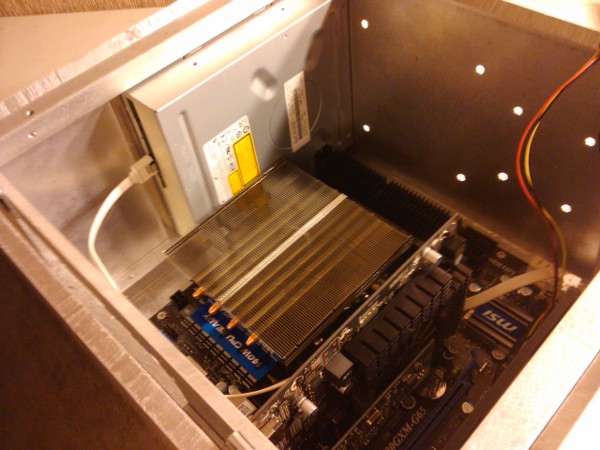
The motherboard should come next, as most of the rest of the box will revolve around it, or components attached to it. The holes were drilled and tapped, and brass stand-offs inserted. The motherboard was mounted to the plate, and the PC assembled around it. This is the point where I pay for any mistakes I might have made up until now. If I made the box too small, the CPU heat sink (a Scythe big shuriken, with the fan removed) will overlap into the space occupied by the optical drive. Let’s see how I did…
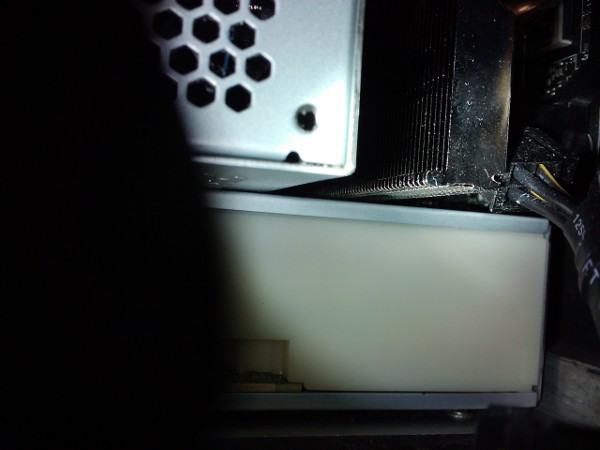
It’s hard to see in the photo, but the heat sink edge is about 1mm above the optical drive.

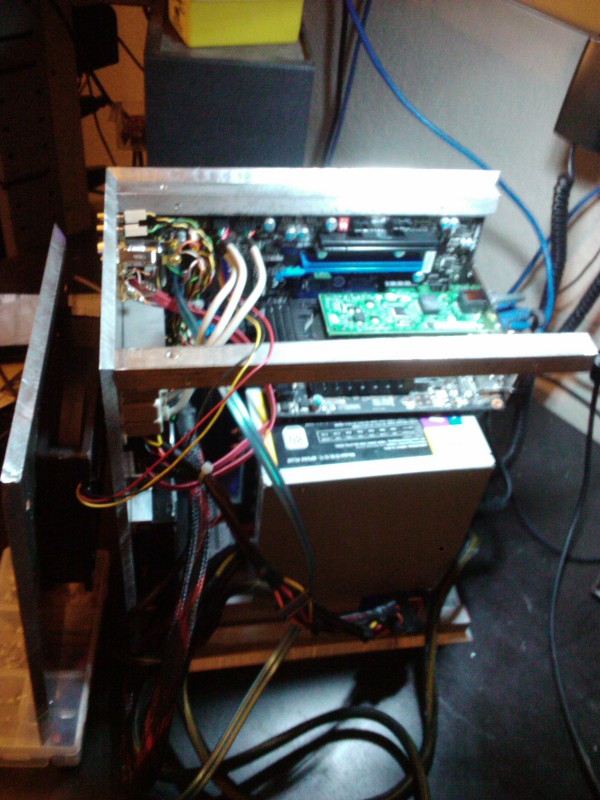
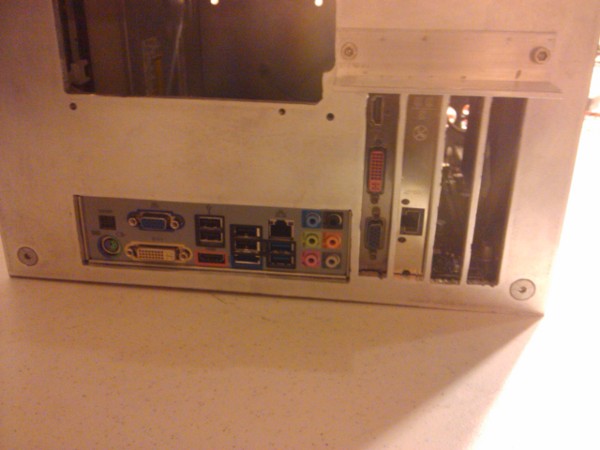
Here is a pic of the PC in the box with the front and rear panels removed.
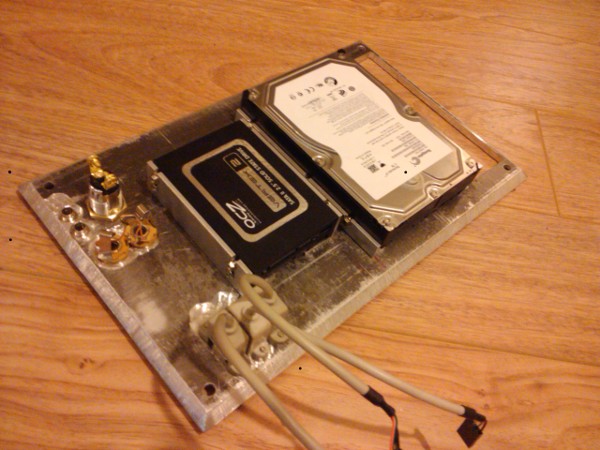
The next thing I addressed was the front panel and the hard drive mounts.
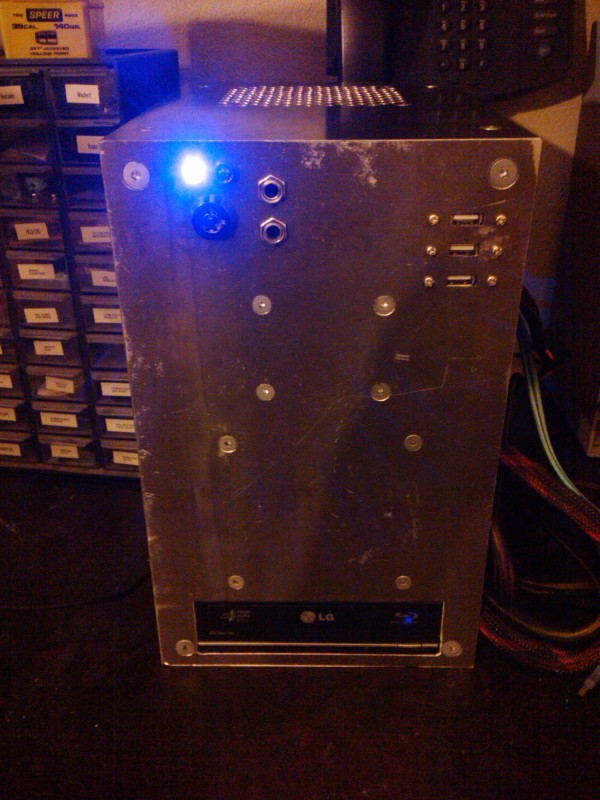
The upper-left corner of the front panel contains the power, HDD light, power button (key switch), and the front audio jacks (1/4”).
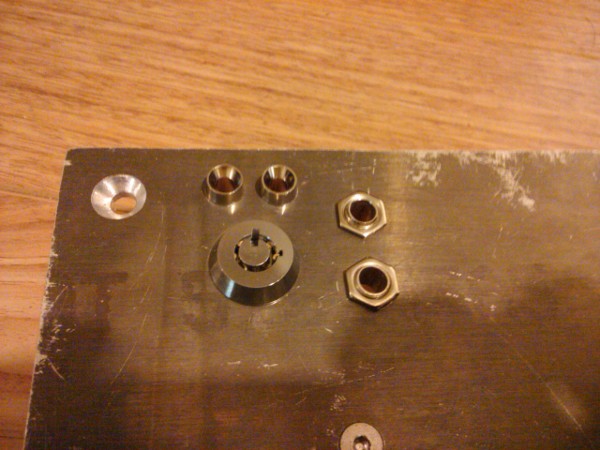
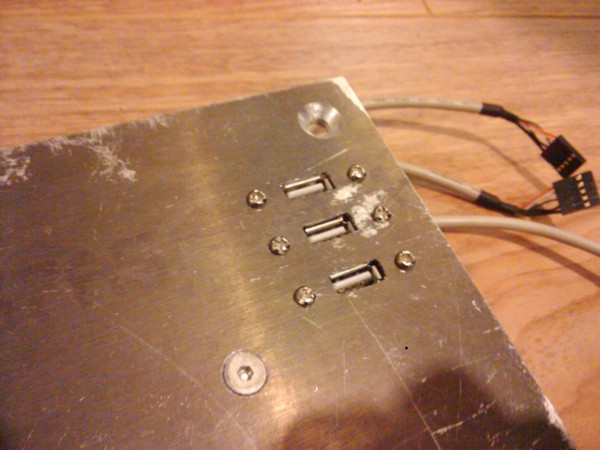
The upper right corner has three USB ports:
Here is the box running with the front-panel mounted in place.
And the side-view with the right and top panels removed. You can see the upper-right rib obscuring the internals.
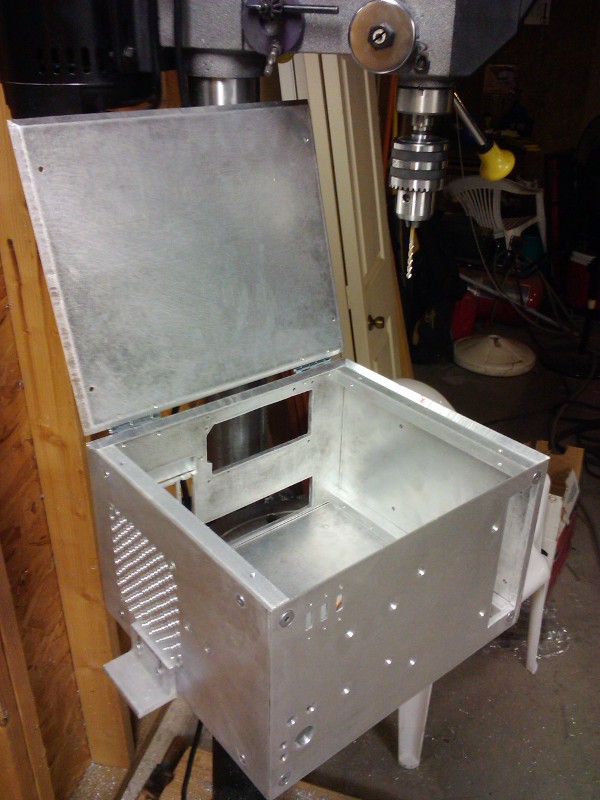
After a weekend of detail-work on the case, it is finished. Here is a picture of the front of the empty case with the top mounting bracket installed. This finish was achieved with #220 sandpaper.
And the rear…
After sanding, the corners are really close-fitting…
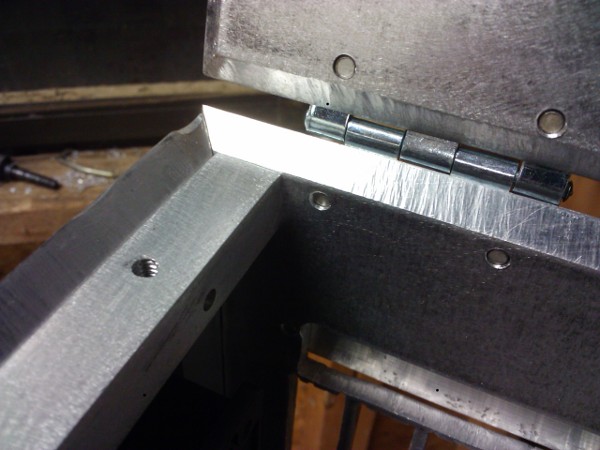
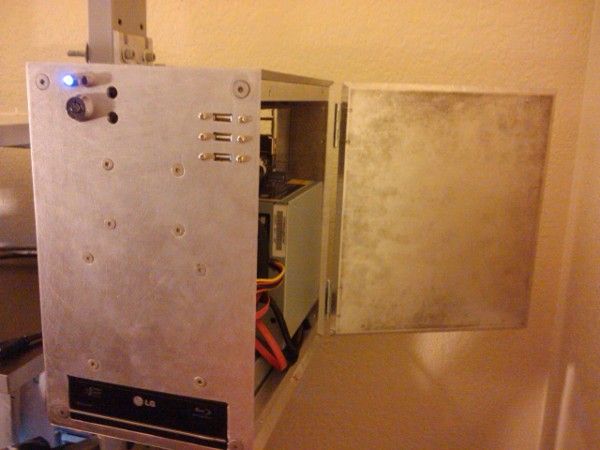
Here is the inside of the right-rear-upper corner. You can see the hinge that allows the side-panel to swing open while the box is mounted and running.
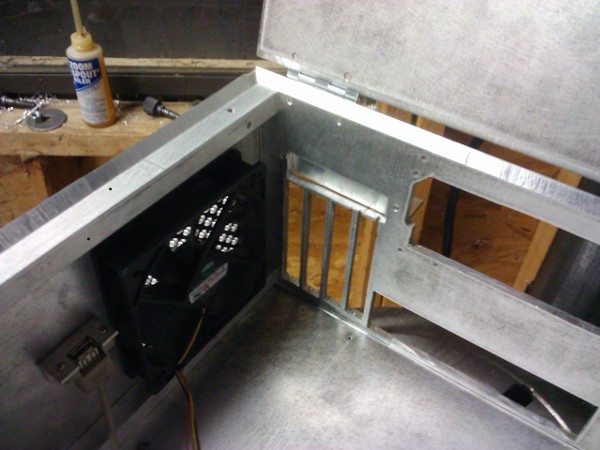
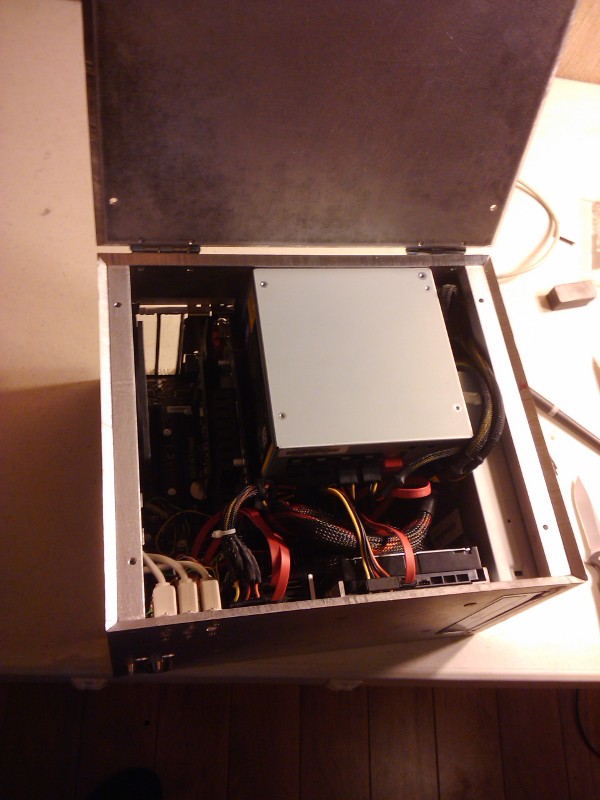
Here is the finished inside of the case from that same angle. On the left can be seen the small mounting bracket that holds a USB socket. This is where the boot-drive plugs in (yes, the box boots from a USB stick under normal use).
And the full-view of the open case.
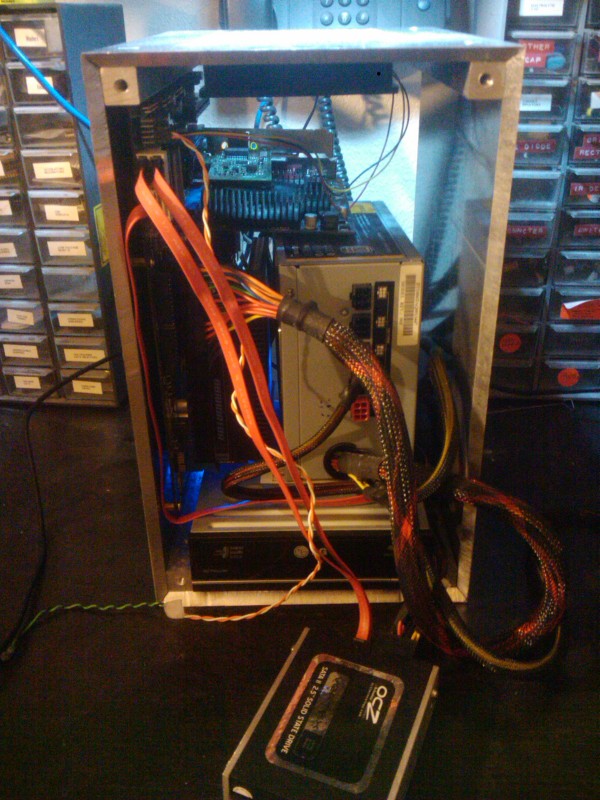
Motherboard and cards installed…
After some argument with cables and zip-ties, I crammed an AMD 1090T surrounded by 0.25” thick plate into about 16 liters.
Now it is mounted to the side of my desk and finished. It shall never run Windows.
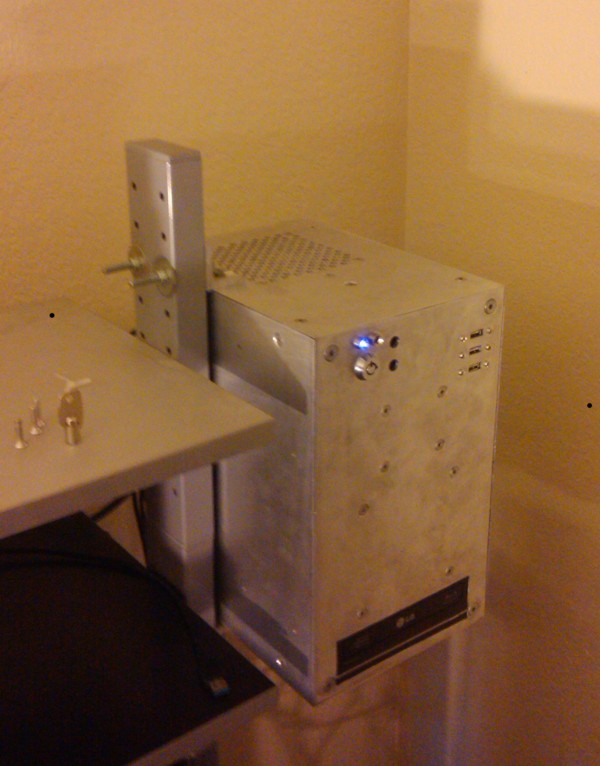
The right-hand side of the case can swing open after being unbolted. I can hang my weight from the side of the case while it is attached and nothing flexes. Design goals achieved.
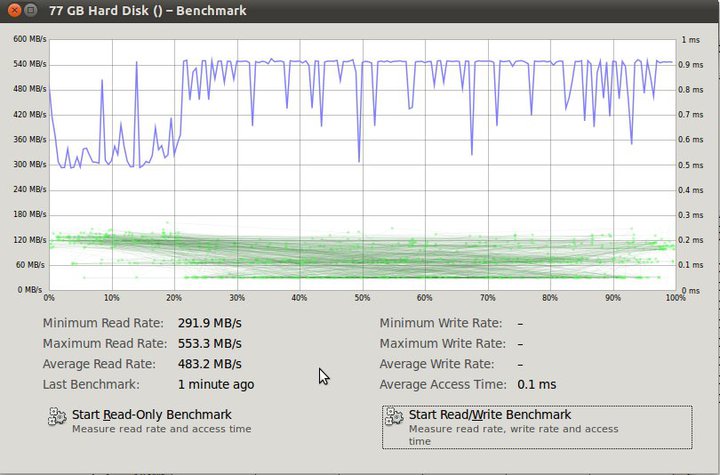
Here is the benchmark of my boot drives. The configuration is two OCZ Vertex 40GB SSDs in RAID-0.
Previous: Lojban parser
Next: 2011.03.24: Controlling VLC from PHP via DBus